Creating a form with Contact Form 7
Now you know the basics of Contact Form 7, let’s create a form from scratch!
Under ‘Contact’ in the main WP admin menu we click ‘Add New’. This creates a new form with the most common fields already added. First thing to do is to give our form a name. Not a name like Barry or Sheila – a name that will help us identify what the form is for.

We want to add a field where the user can enter their telephone number. So we put the cursor in the edit block and (by pressing return) create a space. We then click on the ‘tel’ option on the row of field types:

We could use a basic text field but when you specify the type of data you need there are additional checks that the data and format is correct before the form is sent saving hassle later. When adding any field to the form a pop-up will appear allowing you to customize the field.

Most of this we will not change. But as an example I’ve entered “Your telephone number” in the default value field and checked the placeholder option. Have you seen forms where the instruction is in the field itself? That is a placeholder!

We click the ‘Insert Tag’ button and the field is added to the form in the place our cursor was:
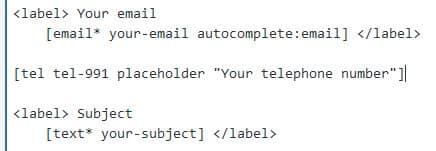
Let’s look at how this would appear on the completed form. The ‘Your telephone number’ appears in the entry field. However it lacks the name above the field as the others have, and looking at the code on the edit page the others have <label> tags, our new field does not!

Label fields are extremely important for ADA compliance, so we need to add them! We just copy the example on the other fields, adding the html tags <label> before to denote the start and the </label> after to mark the end, and the description:

Next we want to add a field so we know what is the best day to call the person back. A drop-down menu is perfect for this as it allows us to define what the options they can select are. So again we create a space on the form and put the cursor in the place we want the field to appear then click on the ‘drop-down menu’ option. This popup will appear:

This time we have given it a new name ‘best-day’ so we will recognize it better and added the Options we want the user to be able to select from. Then click the ‘Insert Tag’ button. Again, once the code is added we need to wrap it in label tags:

The default form has a ‘subject’ field which we do not want for this form. We highlight it then delete it:

We now have the form itself how we want it, we now need to update the Mail fields to match our changes. Click on the ‘Mail’ tab. Helpfully the fields that have not been added to the form (our telephone and bast days) are in bold:
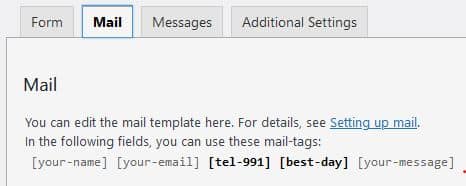
There is no indication however that we are still using a field that has been removed (the subject), so let’s remove that first:

We removed the subject as we wanted it to be something meaningful rather than something completely random from the user. But be add the ‘your-name’ field to easily identify it:

The default setting for where the email is sent to is the admin email:

The admin email is defined in the General section of the WP Admin ‘Settings’:
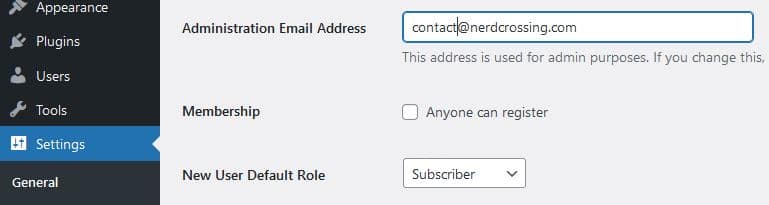
This will normally be the person performing the webmaster type role and you are more likely to want the message to go someone in a secretary type role, so amend the ‘To’ field to a more appropriate email if necessary. It is also possibly to have more than one email that the message is sent to, just separate them by a comma:

Next we are going to add out two new fields. We just copy how the others are done:

Now we have the mail sorted we can save it and add the form to a page. This is how it looks without any styling:
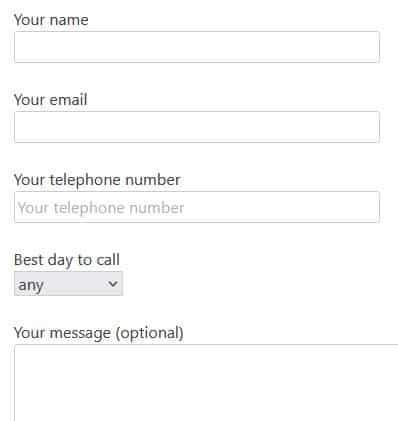
A very important step in adding a form to your website is testing. So let’s fill it out:

Click the submit button, and you should get a confirmation message:

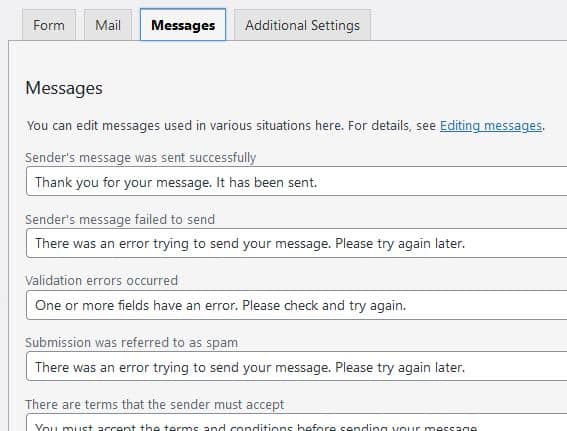
If you want to edit this message, or any of the other messages that can be displayed, you can do this on the ‘Messages’ tab:
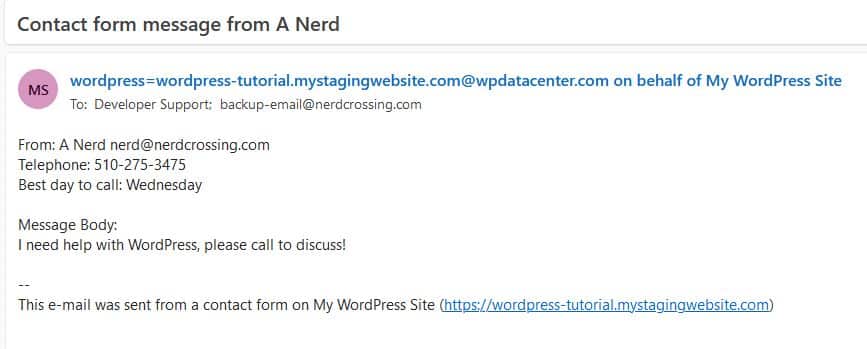
Finally, check your email! Thankfully the email is there, with all information that should be there.
If things didn’t work out or you need help with any other aspect of WordPress – drop us a line on our contact form (we also use Contact Form 7!) and the Nerds can help.