WordPress Block Groups
Blocks in the WordPress block editor can be grouped together. You might find this using to keep content together as a set, for applying styling or for moving blocks around.
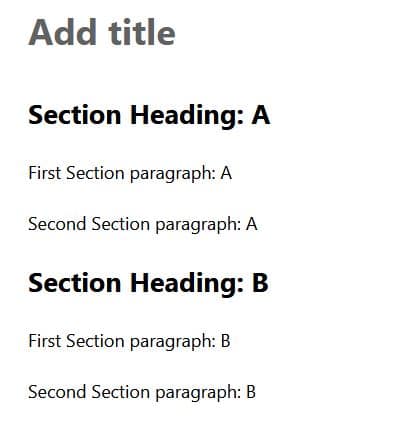
Here we have a page with two distinct sections, which we will group together:
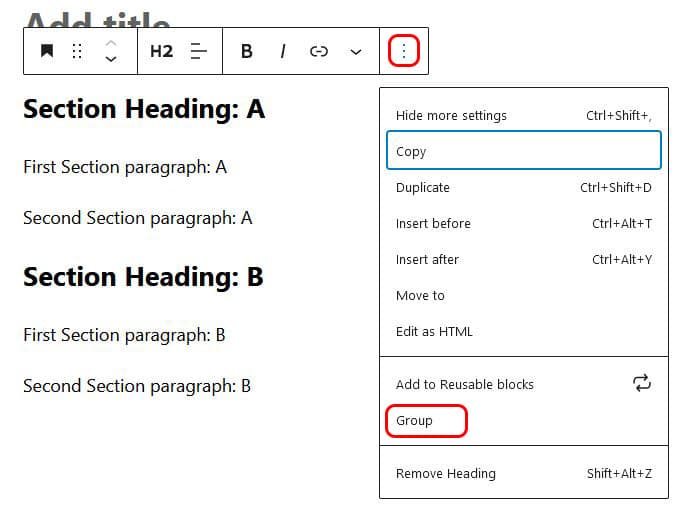
We can click on any block in the first section, then in the block toolbar that appears click the three dots on the right for the additional settings then select ‘Group’:
Our display now changes to show the group block around the element:

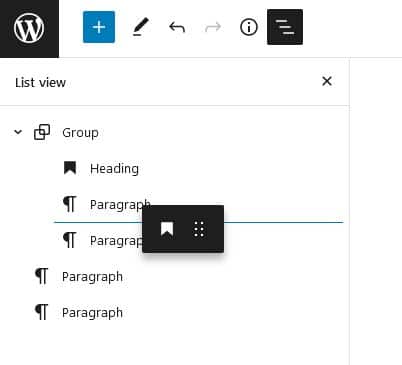
The plus sign on the lower right lets us add a new block inside the group, we already have our blocks created so instead we are going to drag our existing blocks into the group. This can be tricky to get the hang of, a blue line will appear showing where the element will appear when dropped, this blue line should be close to the element at the bottom of the group:

If the blue line is further away it means the dropped block will appear under the group:
Another way of moving blocks into a group is using the list view. If this is not displayed on your edit page you can click on the list icon to show it:
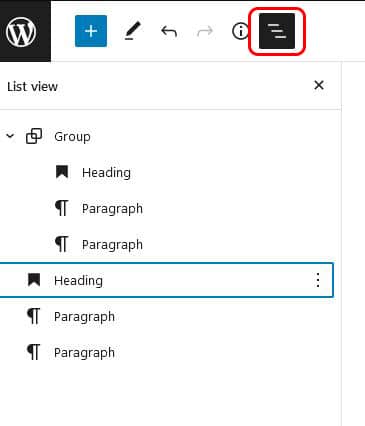
Elements can be simply be dragged into different positions:
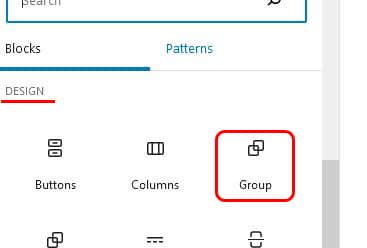
If we don’t yet have any blocks for our group we can create a group first then add the blocks inside. The group block is found in the design section of the group menu:
Group Controls
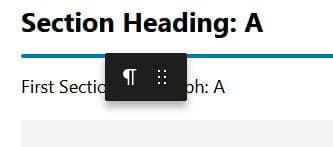
Once we have our group created, if we click on any element in the group the normal block toolbar will appear with the group icon to the left showing the block is in a group:
![]()
![]()
We can also click on the group icon to select the group itself:

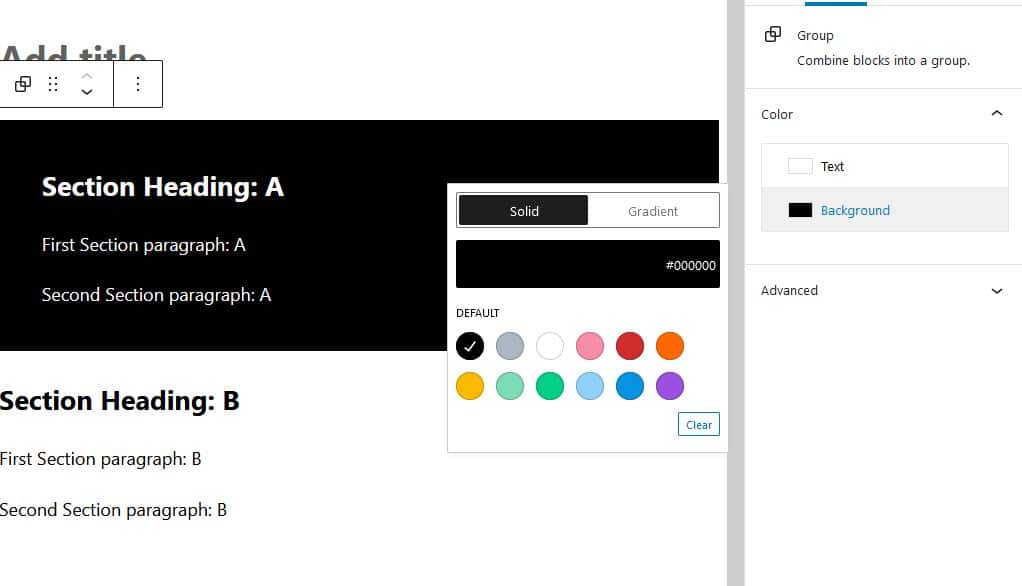
The setting options in the toolbar are limited but we can use the drag tool or arrows to move the whole group as a single block. On the right side of the page are addition settings:
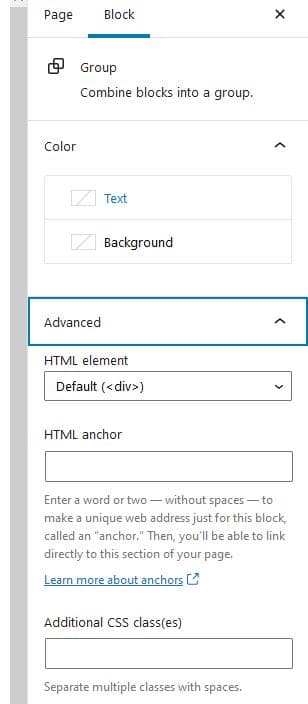
This shows how we can change the colors of a group block to make it stand out from other sections on the page: