

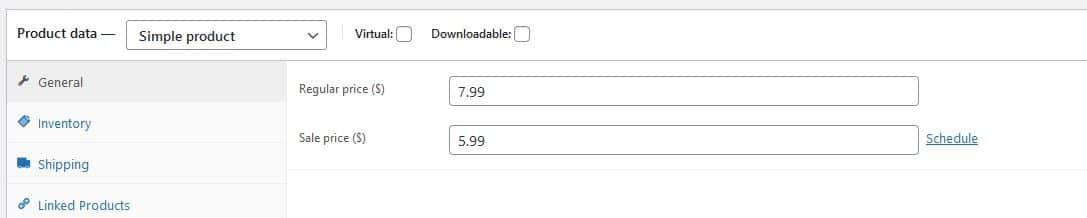
Putting items on sale is a very simple process in WooCommerce. Simply go to the product edit page and enter a figure in the ‘Sale price’ box (and click ‘Update Product’).

This immediately puts the item on sale. How this appears depends on your theme – on ours it add a sale icon, the normal price is scored out and the sale price is displayed alongside.
To remove an item from sale is just a matter of deleting the sale price on the edit product page (leaving the box blank) and saving the product.
Scheduling a Sale
This is also very simple. Simply click the ‘Schedule’ link to the right of the ‘Sale price’ box.

This will display two extra boxes where a start and end date can be added.

NERD TIP:
What if you wanted to run a lunchtime sale? What if you wanted to see a list of all the items scheduled for a particular period? What if you wanted to rerun a sale without manually adjusting all the individual products? Nerd Crossing can offer customizations that can make these tasks possible. Get in touch if these or any other WordPress/WooCommerce features would be useful to you.