Coupons are a great way to promote sales on your online store. And creating these in WooCommerce is very easy!
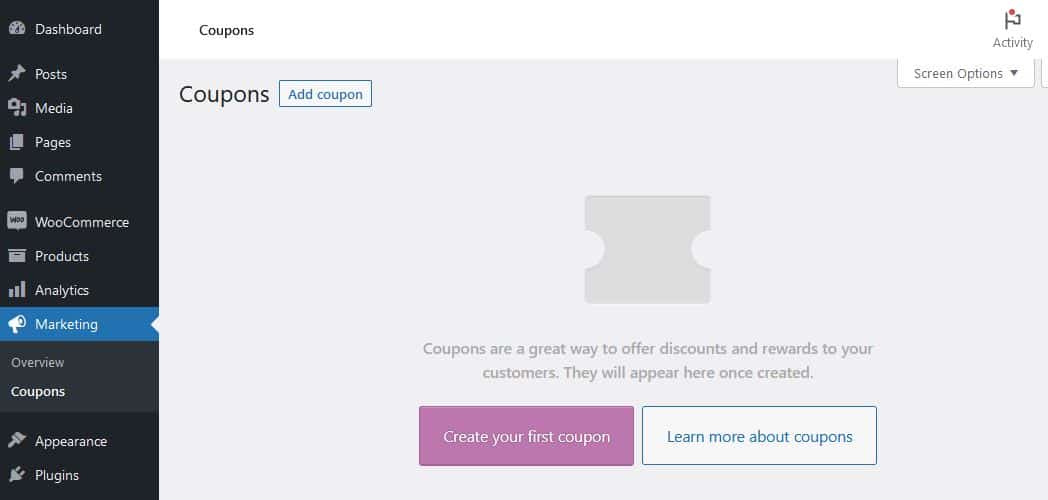
In the main menu on the left side of your WP-admin area ‘Coupons’ can be found under ‘Marketing’.
We then click the ‘Create your first coupon’ button (or ‘Add coupon’ if some have already been added).
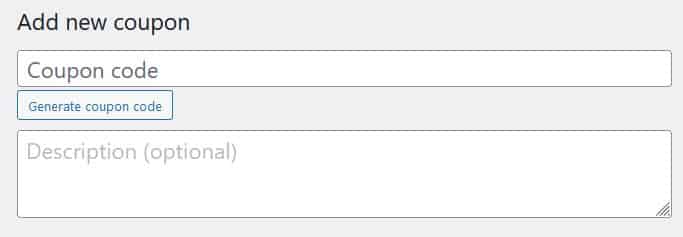
Next we need to create a coupon code. These have to be unique, and you can make up your own or use the very handy code generator!
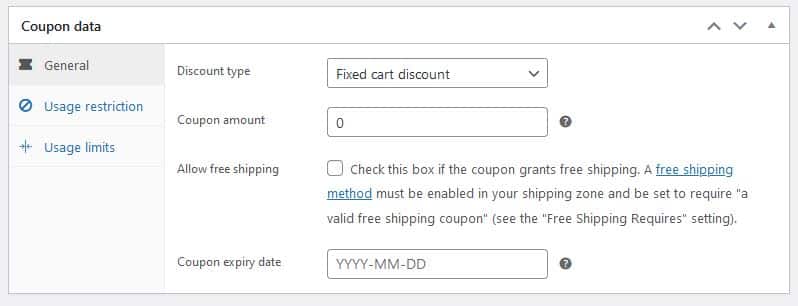
The next section contains many settings allowing a lot of flexibility with your coupons.
- Discount type allows you to choose between a fixed cart discount (for example $10 off), a fixed percent discount (such as 10% off) or a fixed product discount.
- Coupon amount lets you set the value of the coupon.
- Allow free shipping is a popular option where you can, say, offer free shipping over a set dollar spend amount.
- Coupon expiry date lets you set a hard limit to when the coupon ends.
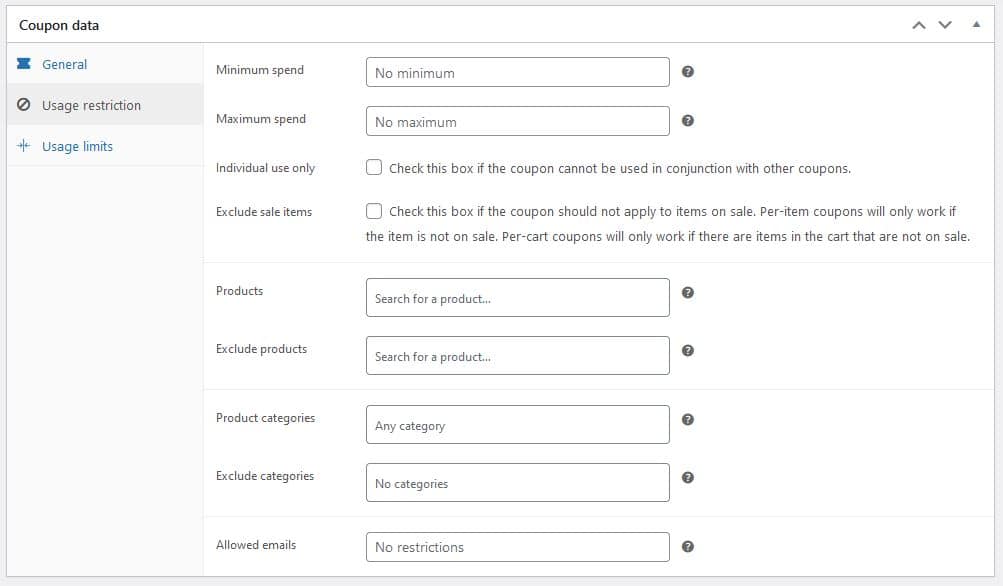
The next part of the Coupon Data settings (Usage restriction) allows you specify when a coupon can be used, with plenty of options that should cover all eventualities of how you envisage your coupon working.
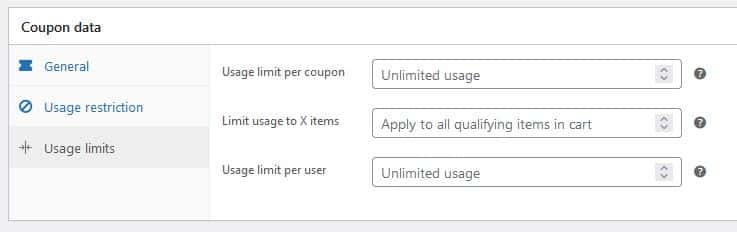
The final part of the Coupon data section – Usage limits – allows you to control how often each coupon code is used.
As always – click the ‘Publish’ button to save the coupon. Another useful option there is you can schedule the coupon to be published at a certain time – useful if you want to define a starting point for the coupon to be accepted – for example you can send out a coupon for ‘this weekend only’ where you define the earliest time the coupon can be accepted.
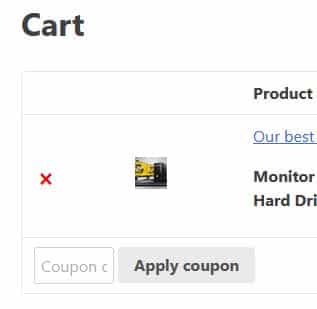
Now you can test you coupon. A coupon box will be available on the Cart and Checkout pages.
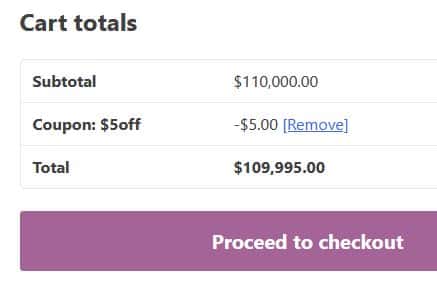
When applied, the appropriate discount will show in the Cart totals section.